I’ve always been intrigued by the Ankh, the ancient Egyptian symbol. I knew it must have some sacred geometry behind it so I set out to find exactly how to make the perfect Ankh.
Here’s what I came up with.
Tools used:
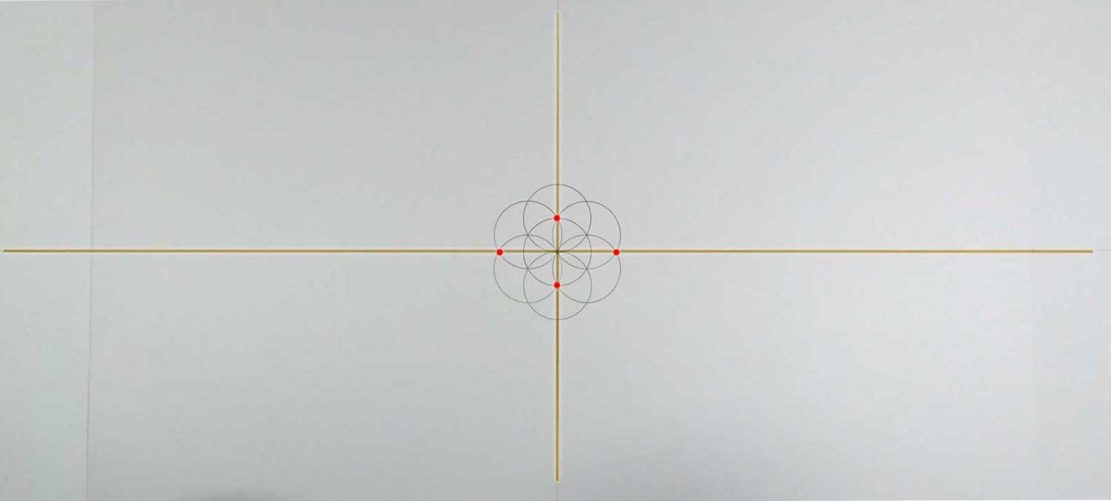
It starts with the Seed of Life, pretty much all ancient symbols do.


Then we use these points on the left and right to find our horizontal line. Go as far out to the left and right as you can because we’re going to need that later. The top and bottom intersections show where the vertical line needs to go.

With the compass still set to the same size as the first 7 circles. Add a few more circles which we’ll need later on. Two on the left, one on the top and two on the right.

Put the compass point on the bottom intersection and set it to reach the center of the Seed of Life. Draw a circle.

And this will create a circle that is double the size of our original circle.
Double it up again by putting the compass in the center and reaching it out to the lowest intersection.

Now join these two points on the left and right petals of the Seed of Life.

That’s going to tell us where the edge of the petal in the middle is and we can join those two points to create an intersection on the horizontal line.

Now the compass point goes on the outermost intersection of the large circle at 90 degrees. Line it up to the intersection we just created, so it’s not in the center, but right next to it.
Scribe an arc within the main circle then keep going out to the left and put a mark on the horizontal line.
Do the same thing on the right.

Then repeat the same thing on the bottom and the top. There’s no need to put the extra mark above or below.

Now use that little mark to set the compass twice as big as this circle we just drew and do the same thing, draw an arc within the main circle then put another little mark all the way out there.

Now double the size of the circle again and draw two more arcs within the main circle.

It’s hard to tell right now but that’s the bottom part of the cross done so now we move on to the loop on the top.
Connect these two intersections at the top to find the center of this section.

Then with the compass set right in the center of that line we just drew, draw a small circle that reaches to the edge of the petals either side.

Now find the intersections where this new circle and the cirle above cross and join the two points, extending the line to the edge of the Seed of Life.

And use this cross section to draw another circle of the same size that reaches the top of the Seed of Life.

Now make a Vesica Piscis around that circle by following the center line to the right and setting the compass from the edge of the circle to the other edge
Draw a circle that’s twice the size either side.

Now we need to draw a smaller circle inside of this one.
Put the compass right in the middle and set it to reach this intersection that we created with that circle in step 15.

And I’ll do the same thing again to create a Vesica Piscis around this circle.

And that’s it. It looks like a tangled mess but it’s in there!

Hope you found this useful! I’d love to see your drawing. Share it with me on Instagram if you feel like it @geometryptamine
If you’d like to see more drawing videos and sacred geometry tutorials, head over to my YouTube channel or subscribe to my newsletter to get notified of new content.
The Sacred Geometry Encyclopedia
The Sacred Geometry Encyclopedia is an ongoing project I’m working on, I’m slowly creating an encyclopedia of sacred geometry demonstrations. I hope to show how to draw all elements of sacred geometry so anyone can follow along and learn how to use this amazing practice.
If you have any requests or suggestions please let me know!